How to setup a NodeJS app on Azure without using the command line
I’m pretty comfortable with *nix, not afraid to crack my knuckles, open up the terminal and go wild. I’ve even been known to bash out a shell script every now and again (see what I did there?).
However If I can point and click vs. typing a command I’ll usually point and click.
So I thought I would explain how to get a simple node application running on Azure without using the terminal.
Important
Lets get started…
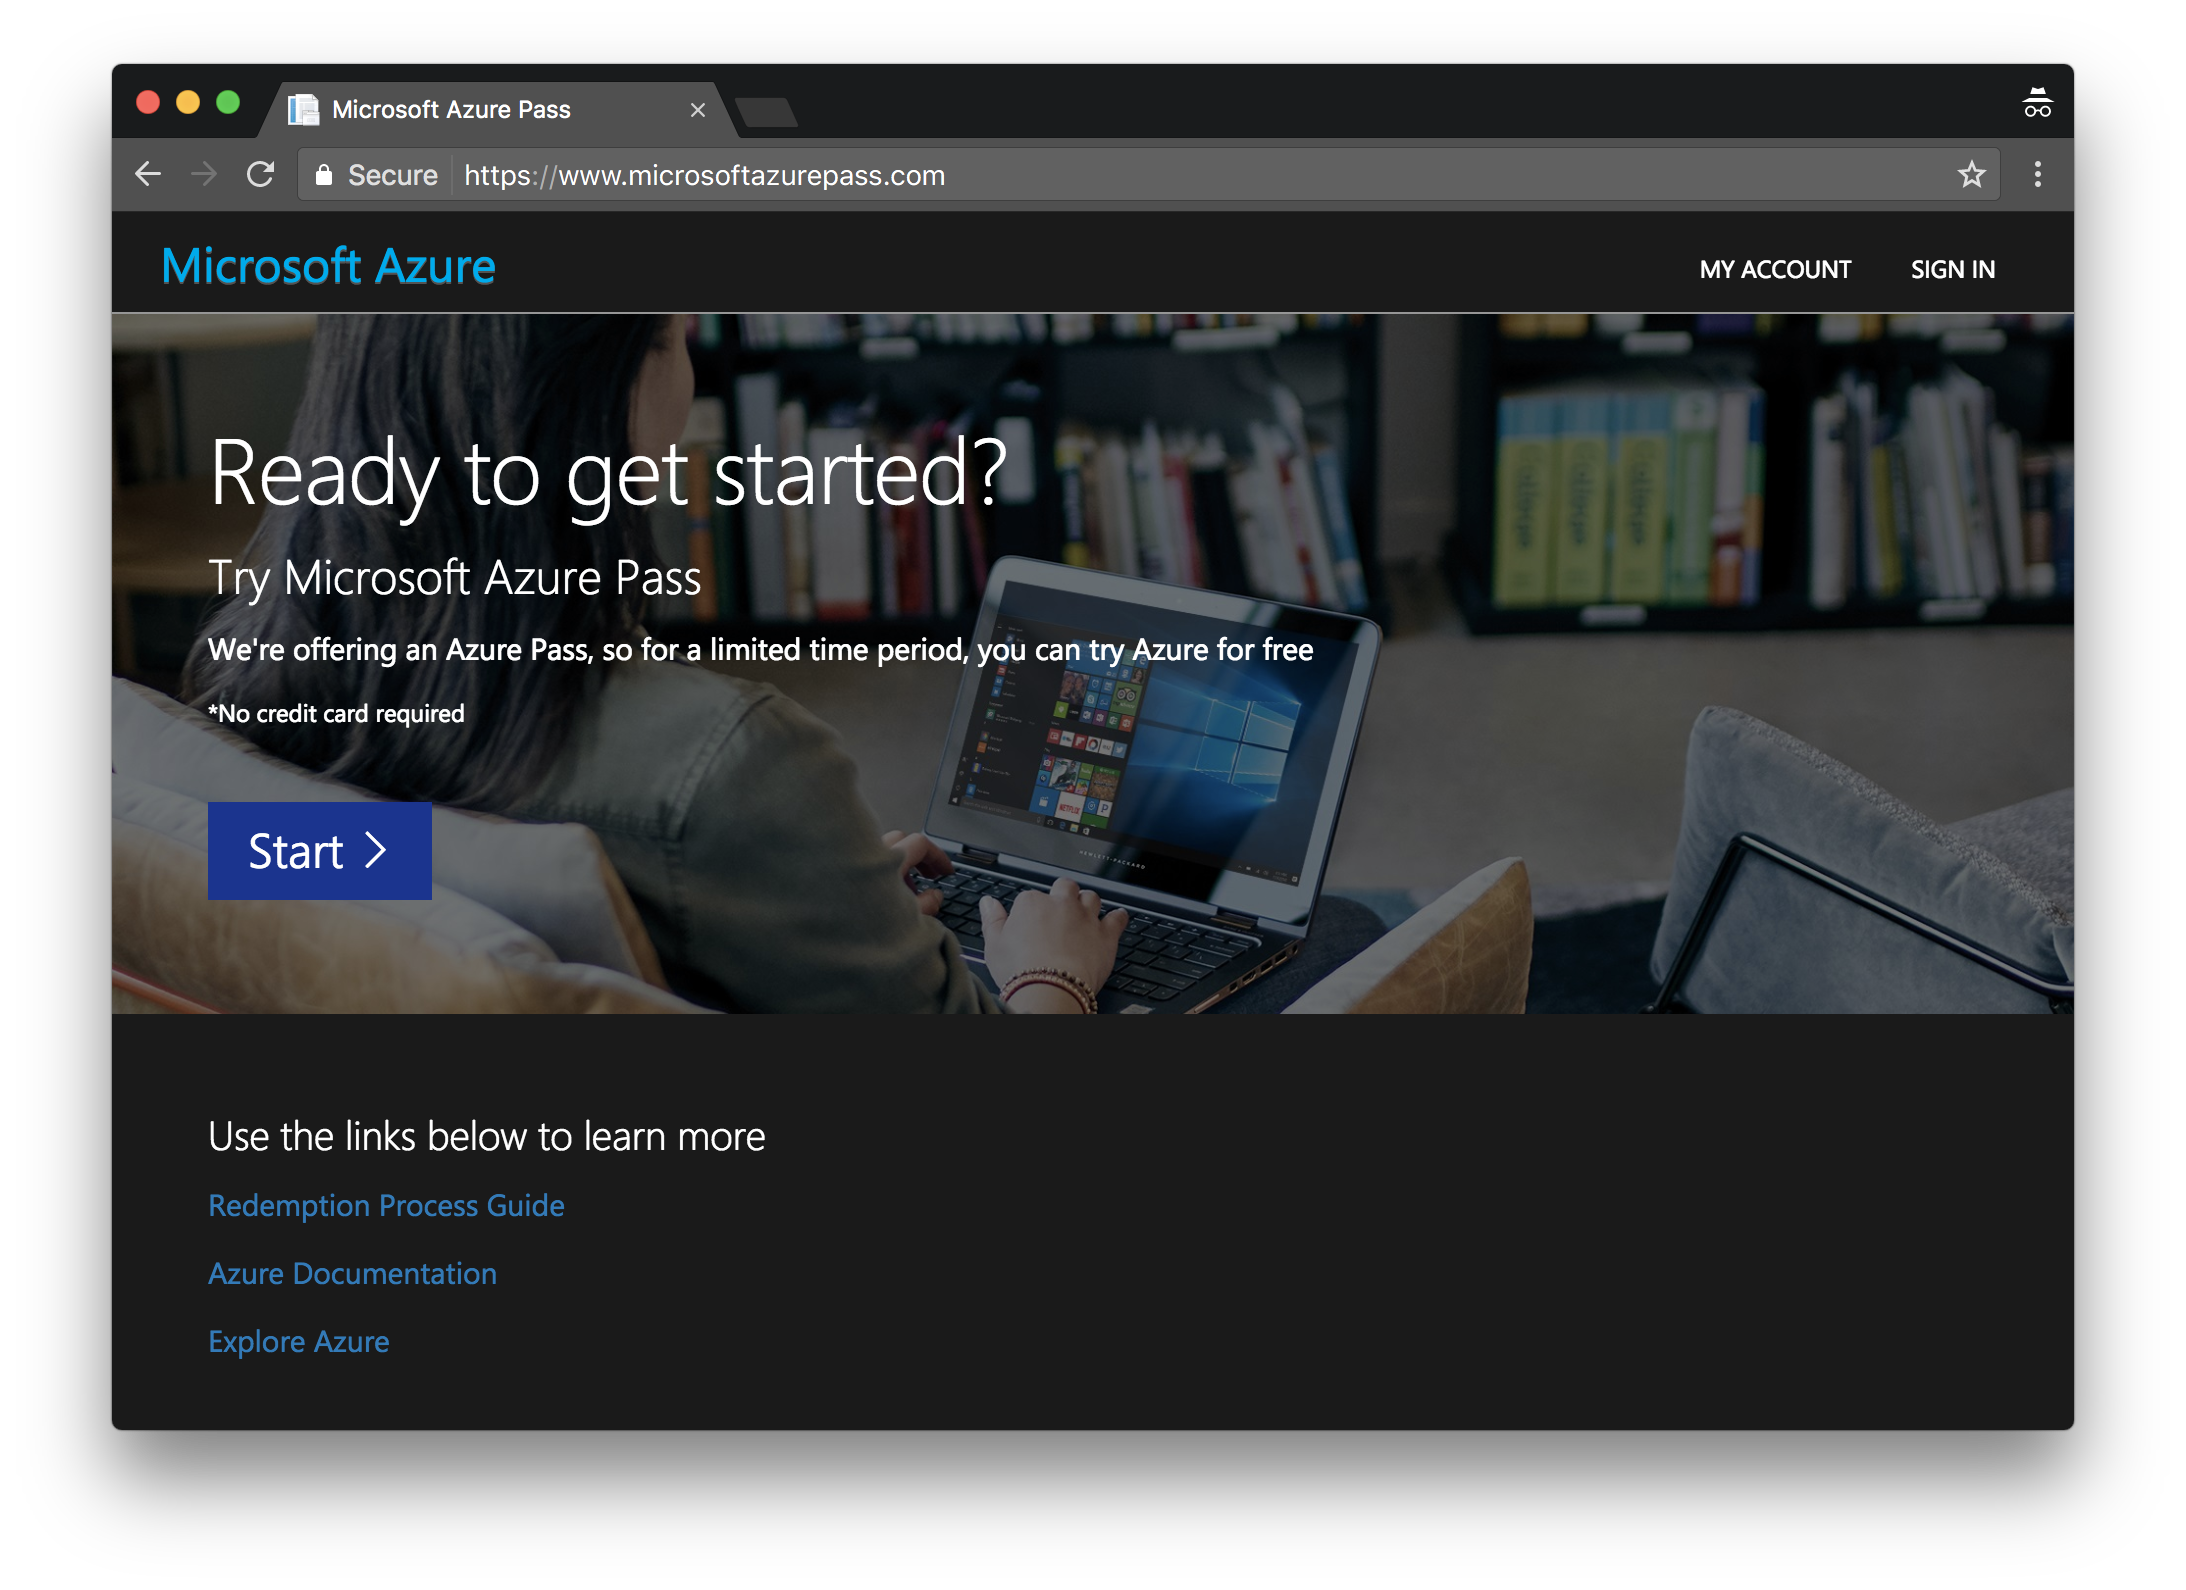
Login to Azure
Navigate to https://portal.azure.com and once there you should see something like this:
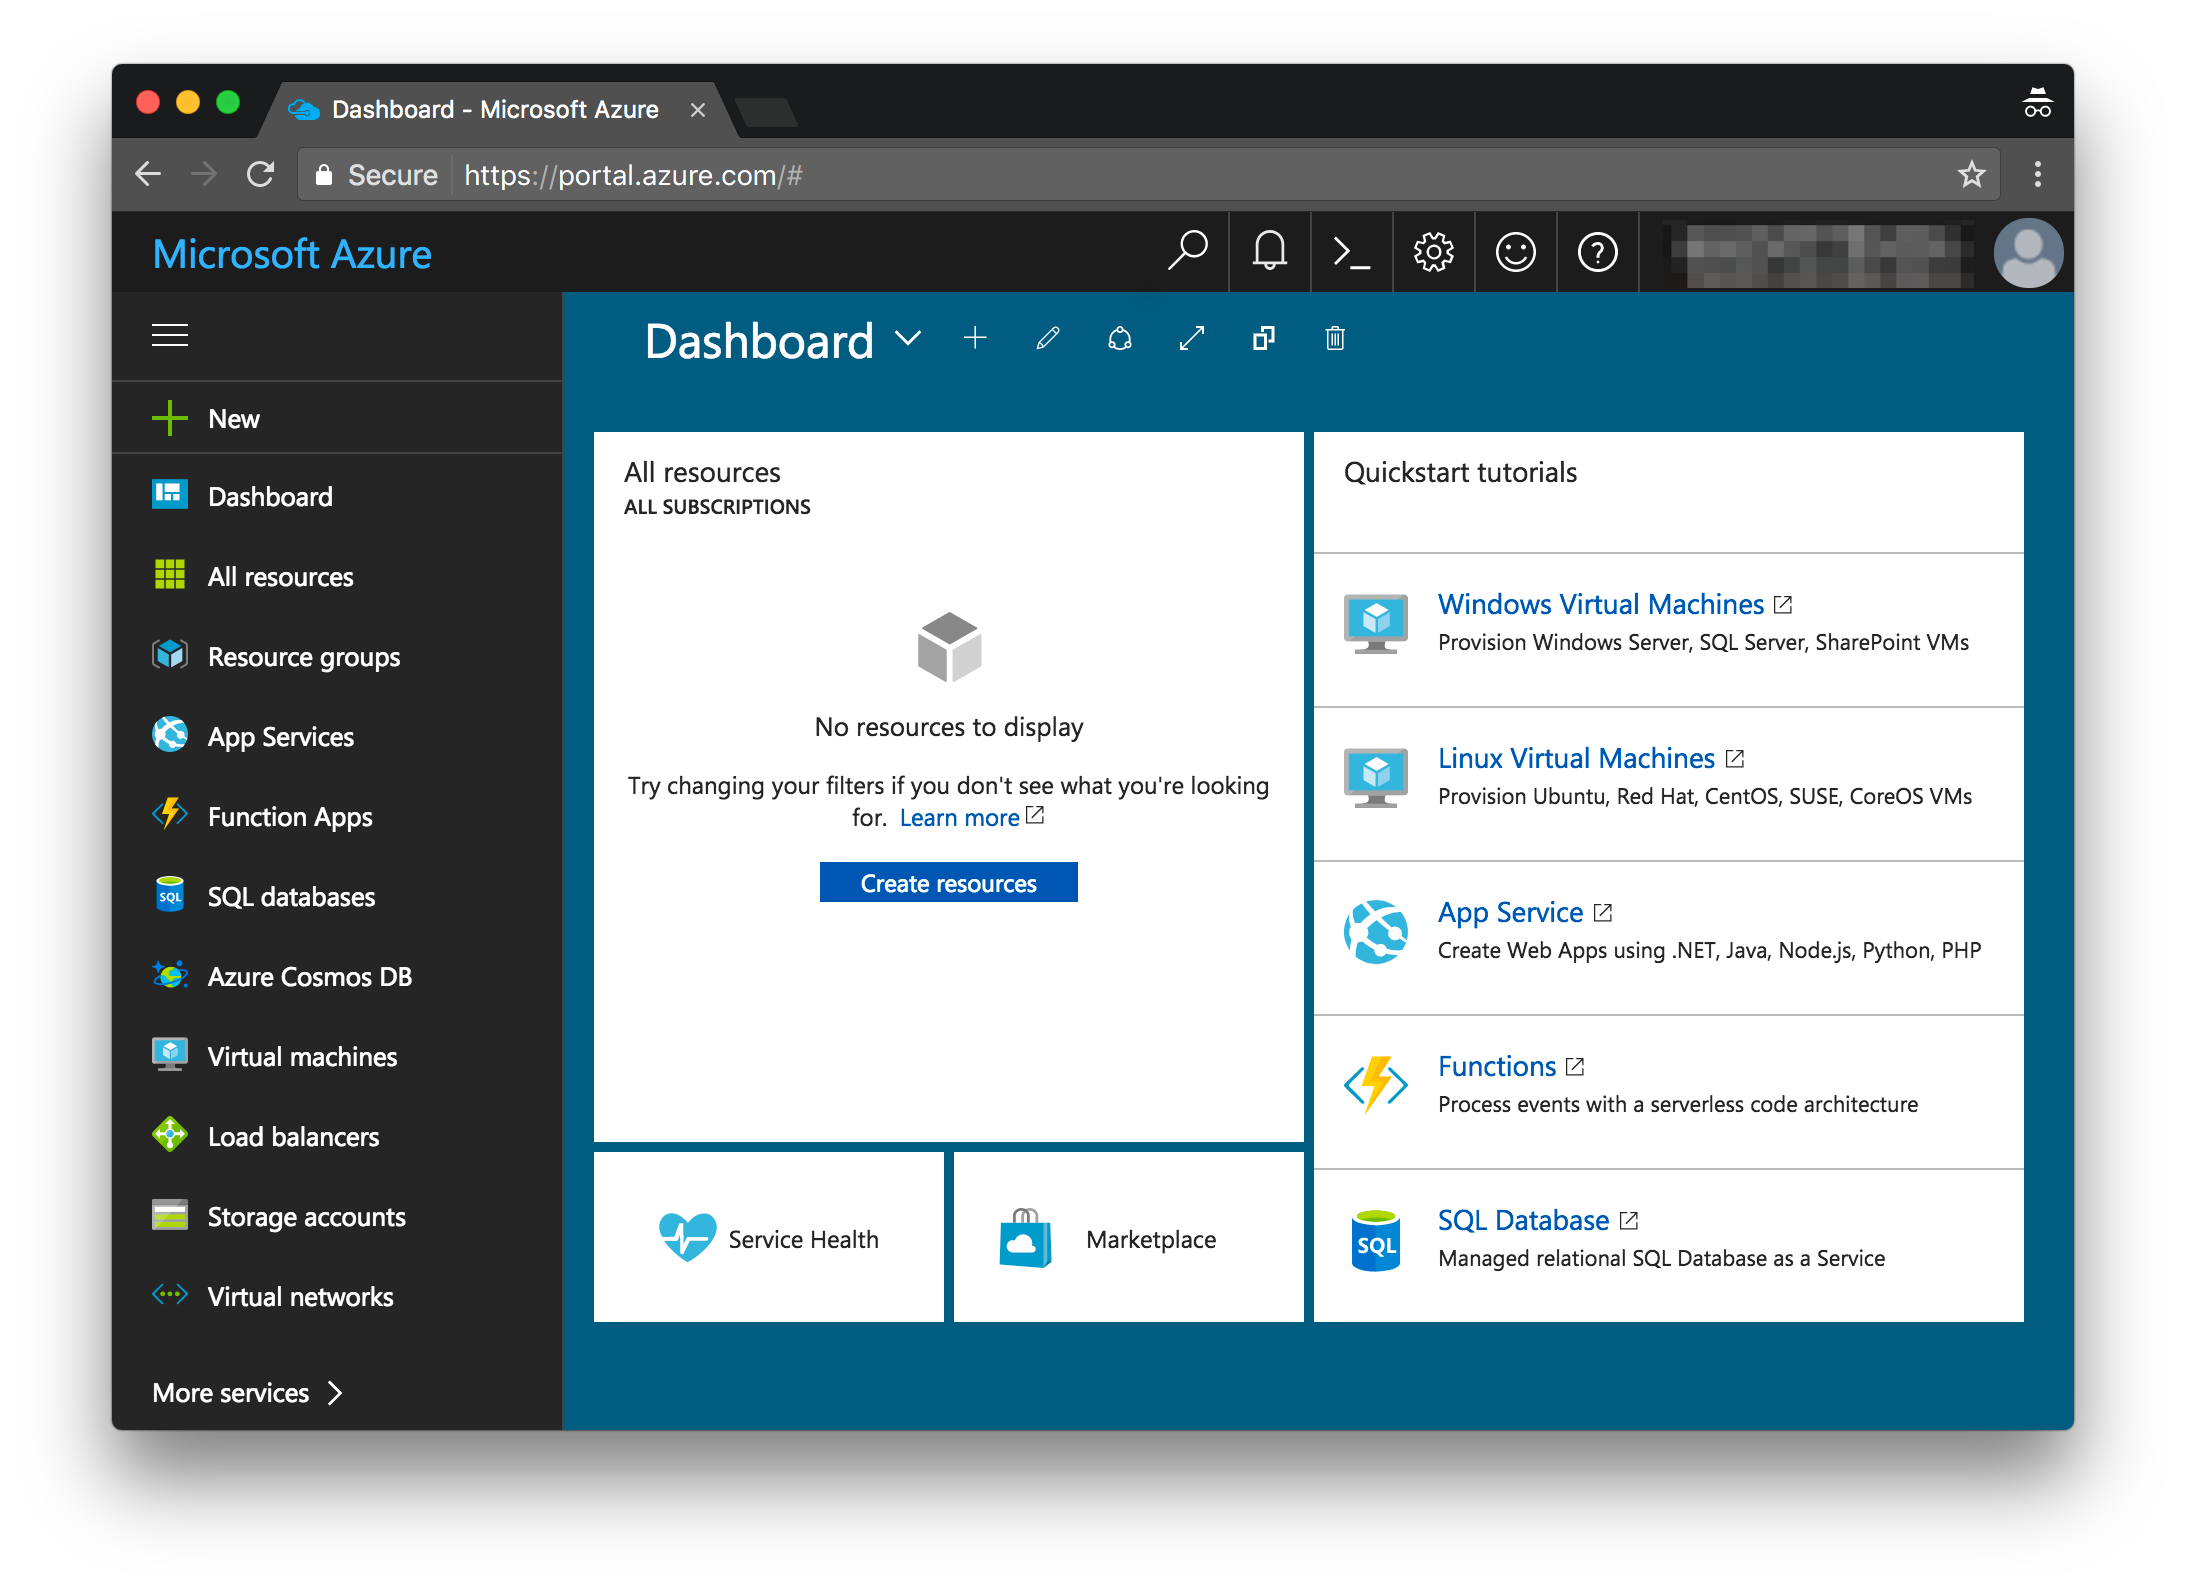
What you see here is your Dashboard.
On the left hand side are all the services you can add to your application and in the middle are a bunch pinned panels where you can see useful stats for all your apps in one place.
What you see right now are the default panels, you can move them around or delete them it’s up to you. Later on we’ll be pinning a panel for the app we are about to create so you can see that on your Dashboard as well.
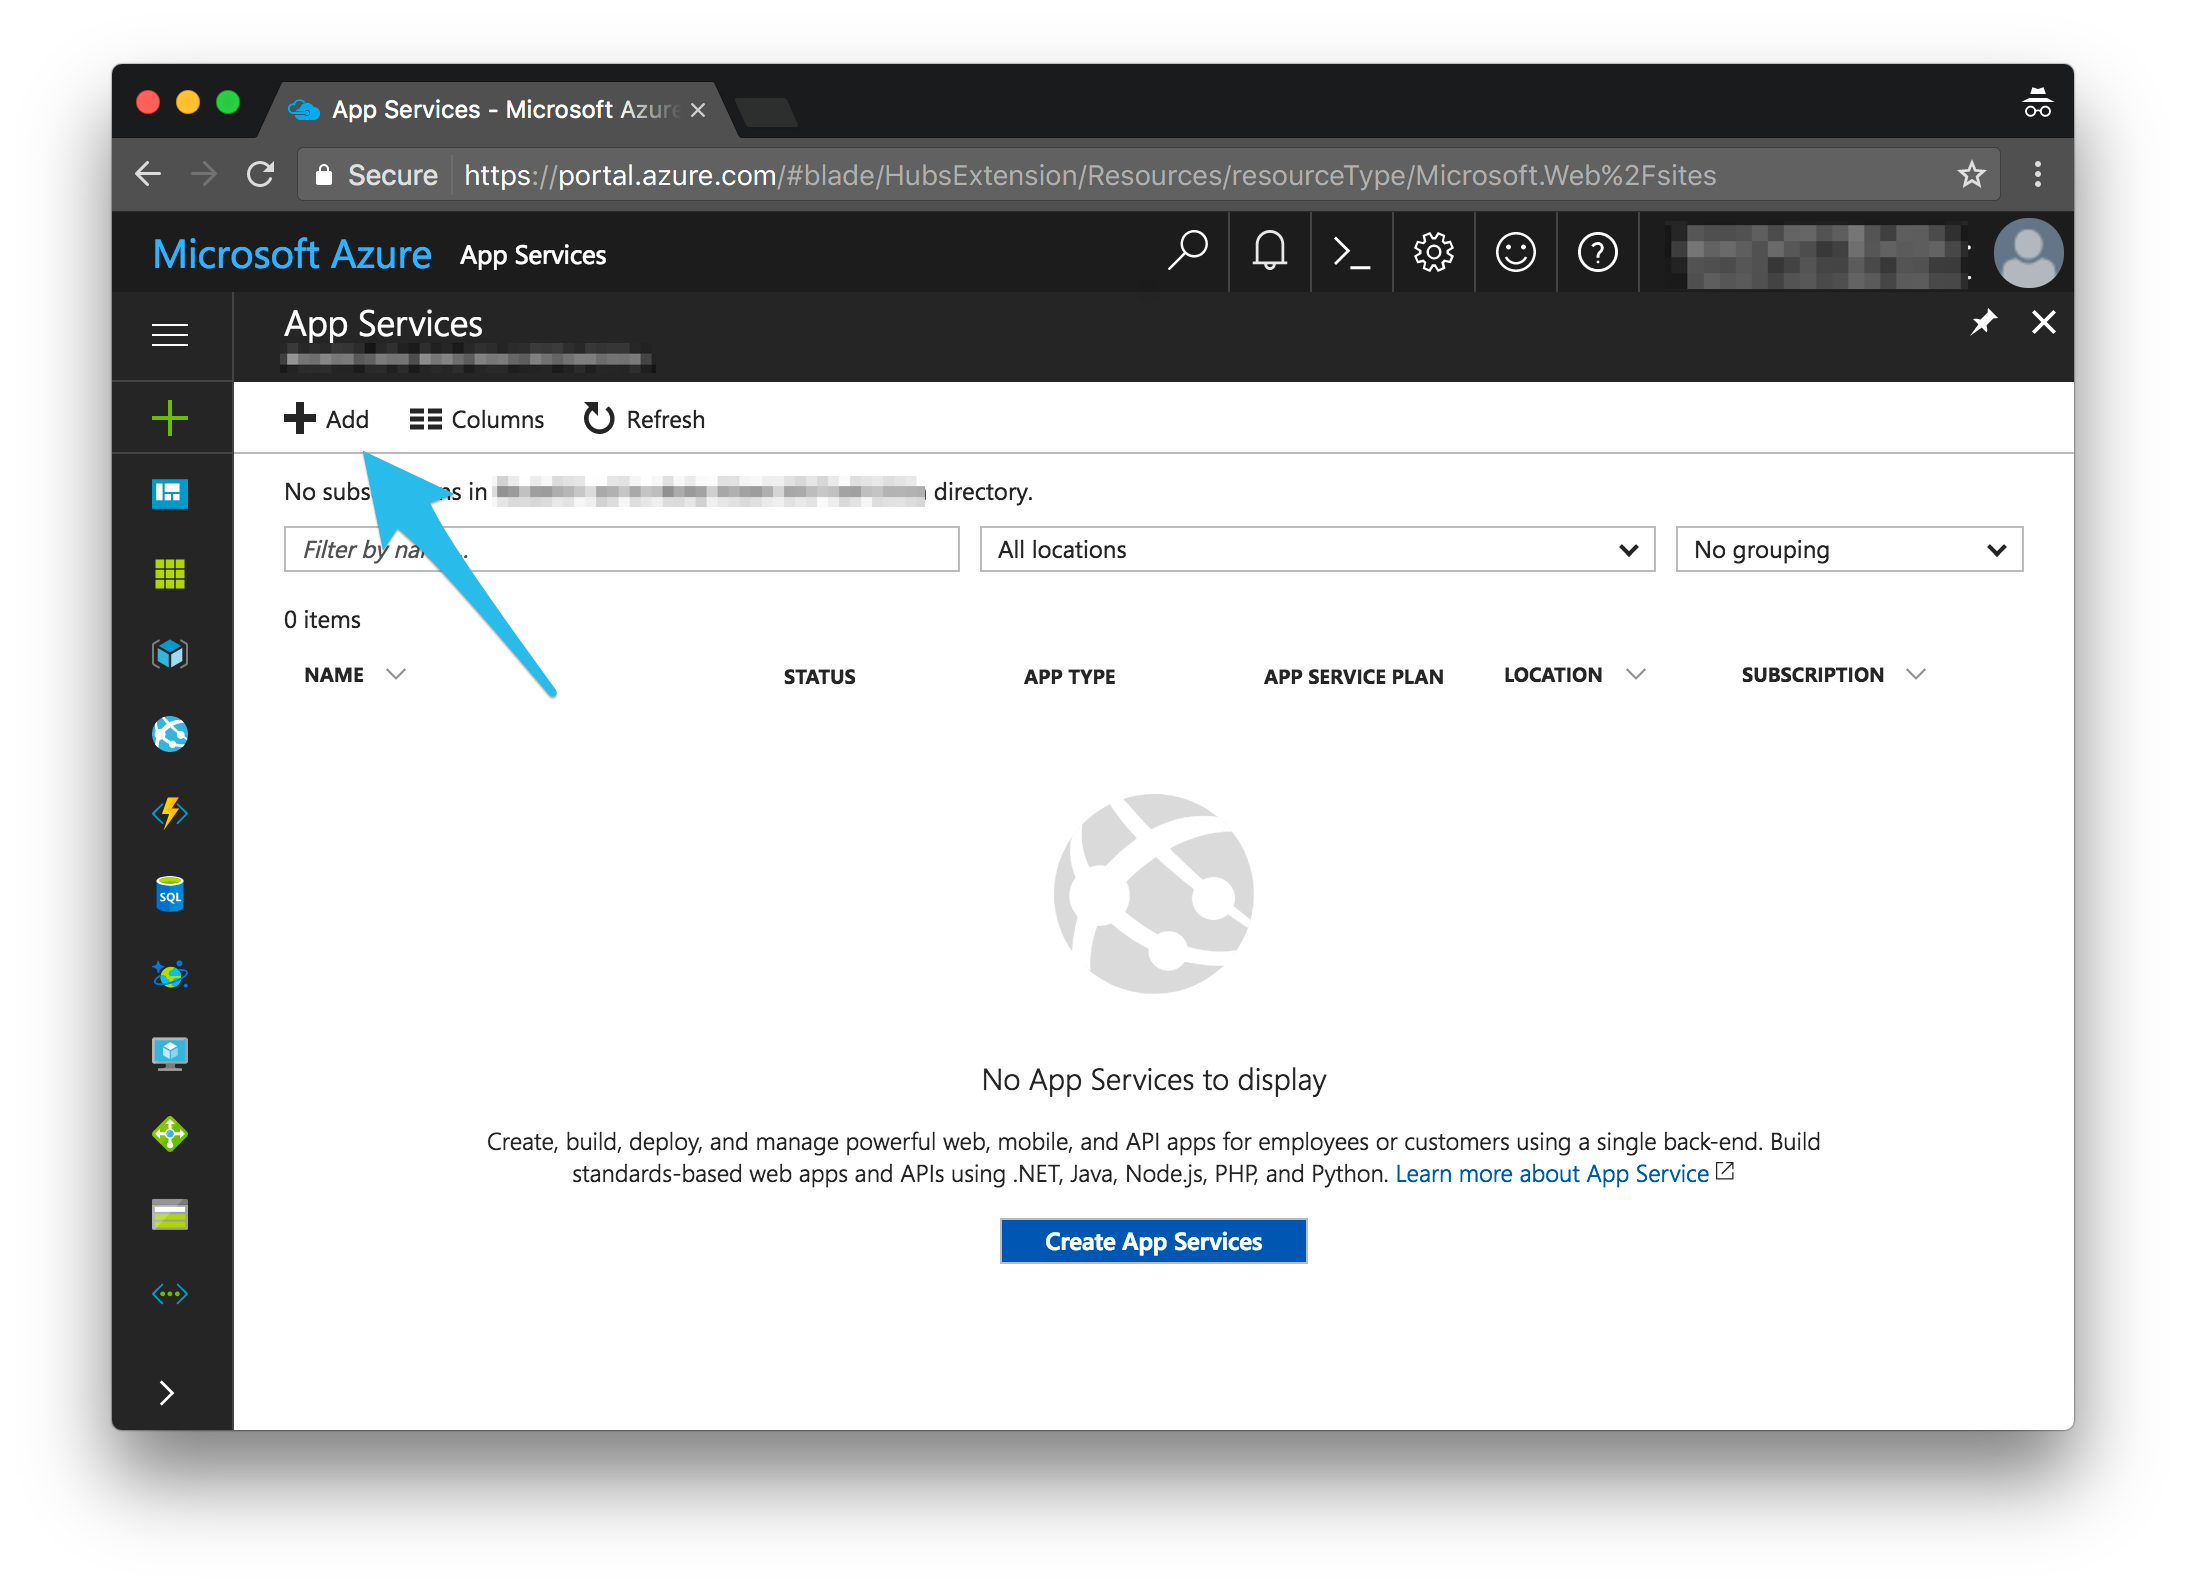
Navigate to App Services
On the left hand side menu select App Services.
Note
An App Service is a container for the code that runs your web app.
Azure takes care of all the hosting issues, it will automatically scale the App Service up or down depending on load, it will handle the operating system and automatically add patches etc… you just focus on shipping code and let the Azure App Service handle the rest.
Click "Add" to create a new App Service
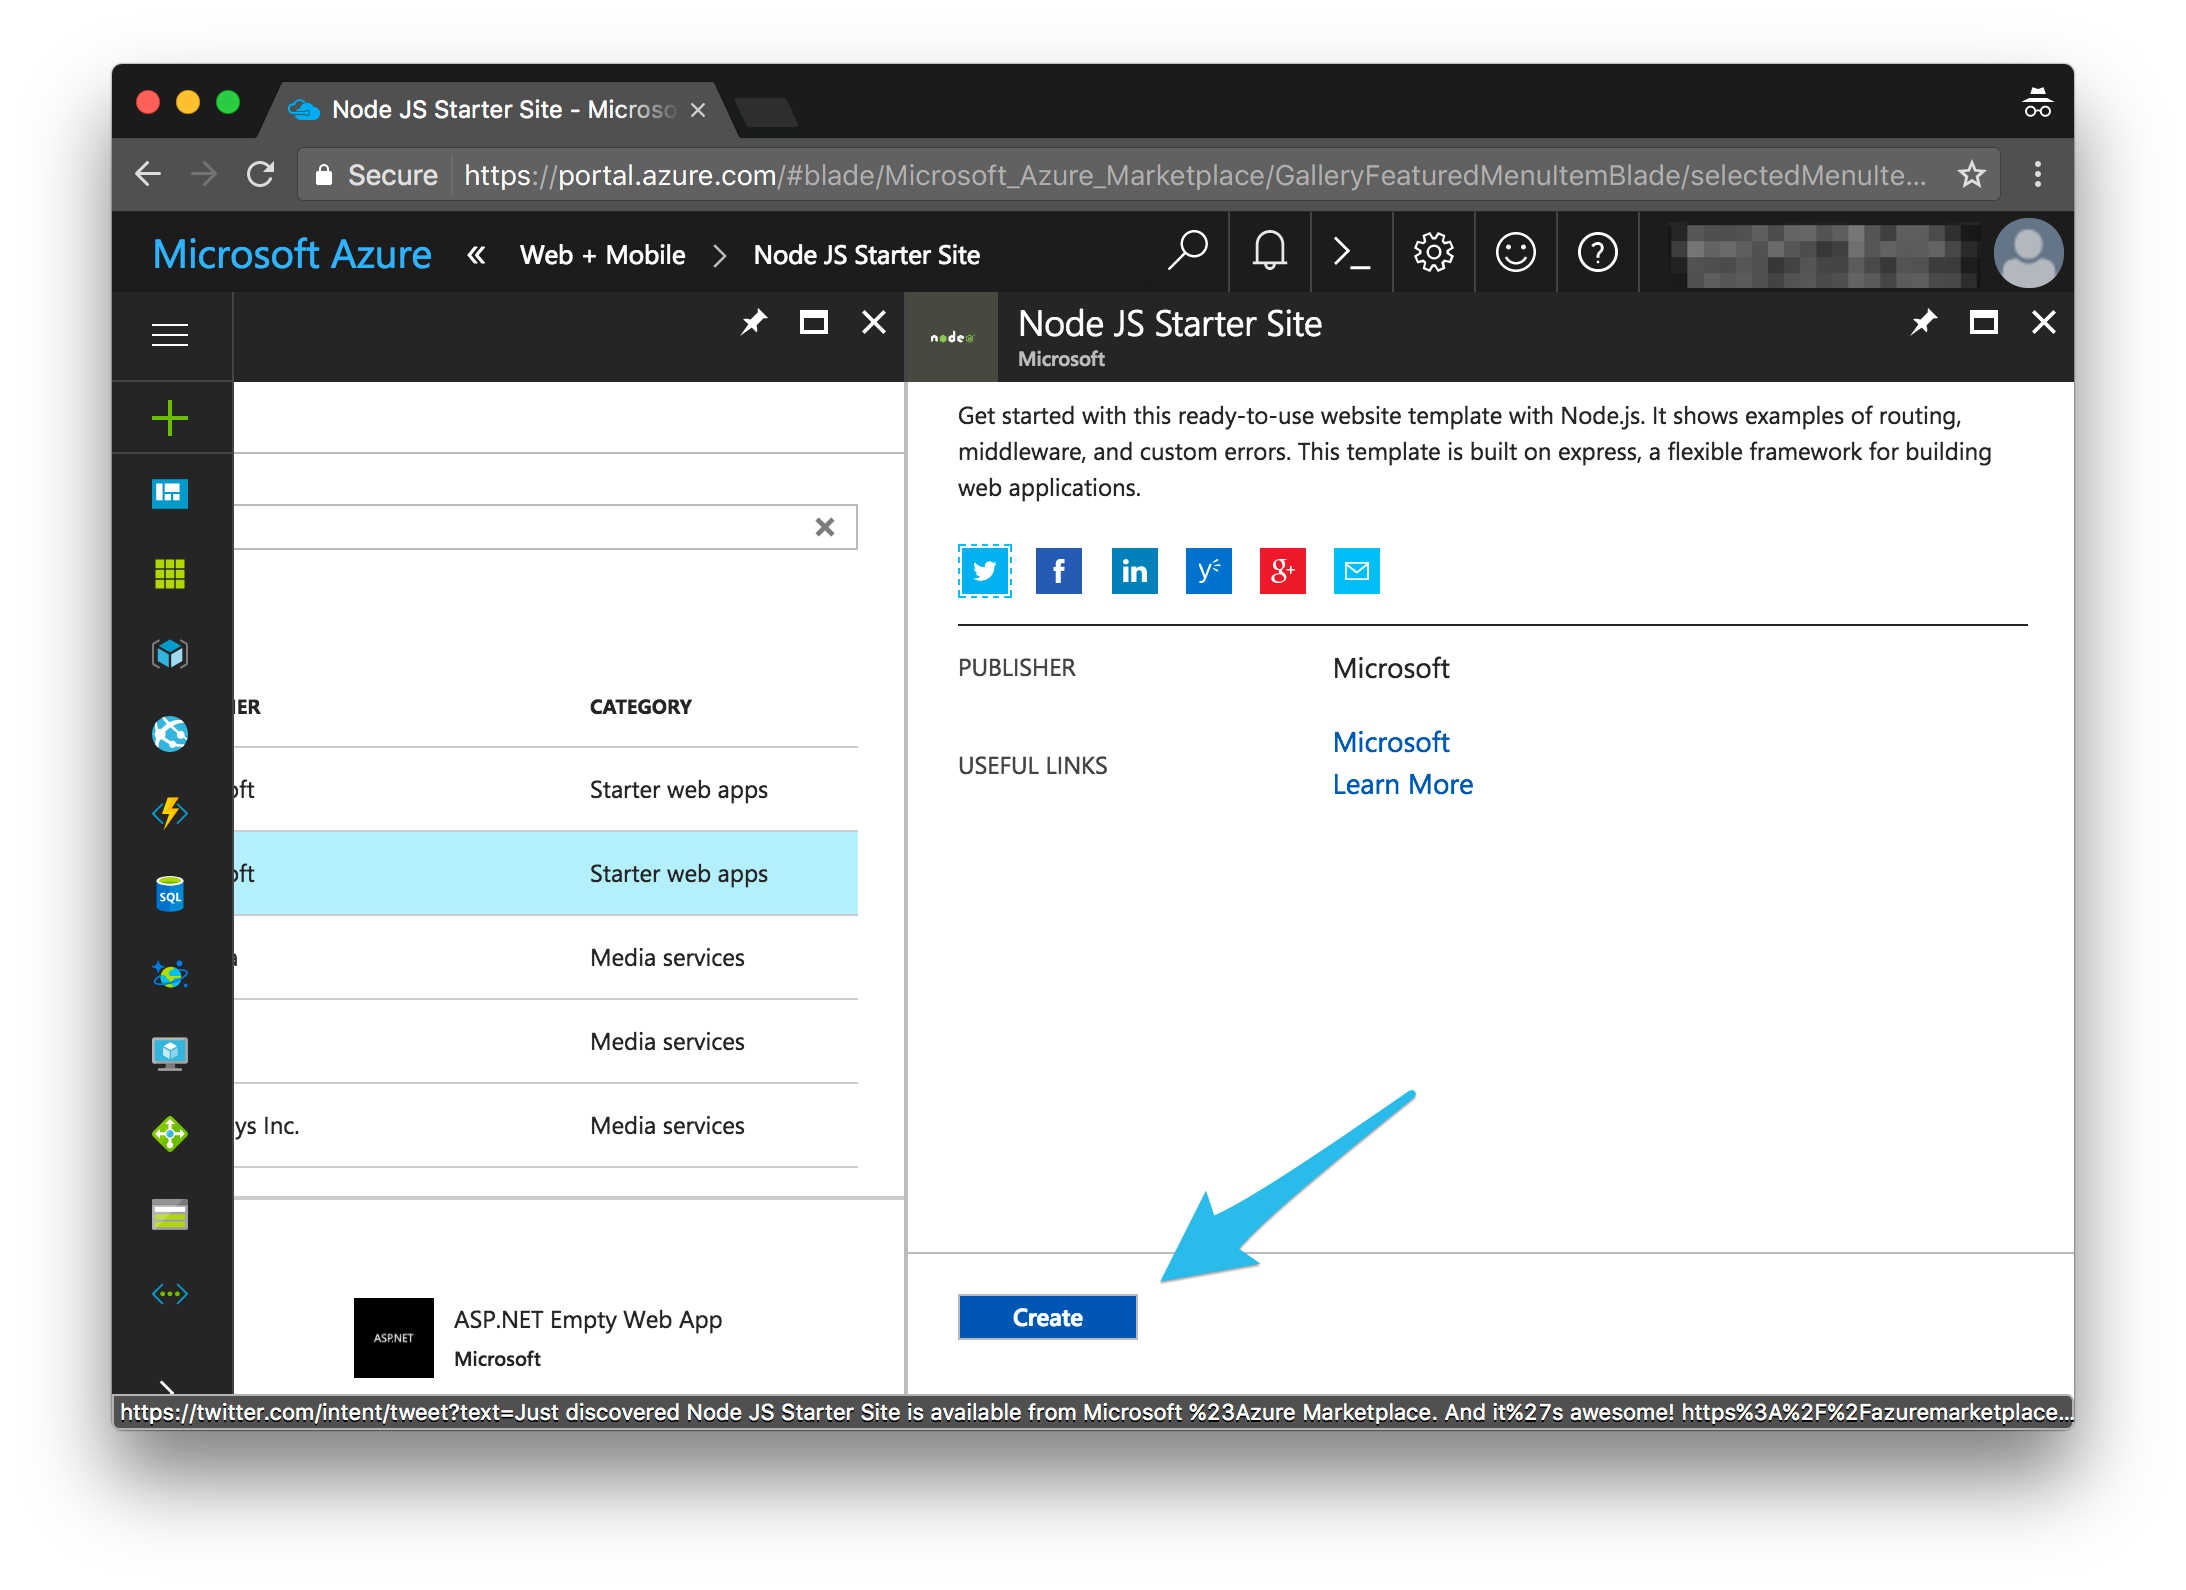
Pick a starter template
Search for node and pick the NodeJS Empty Web App
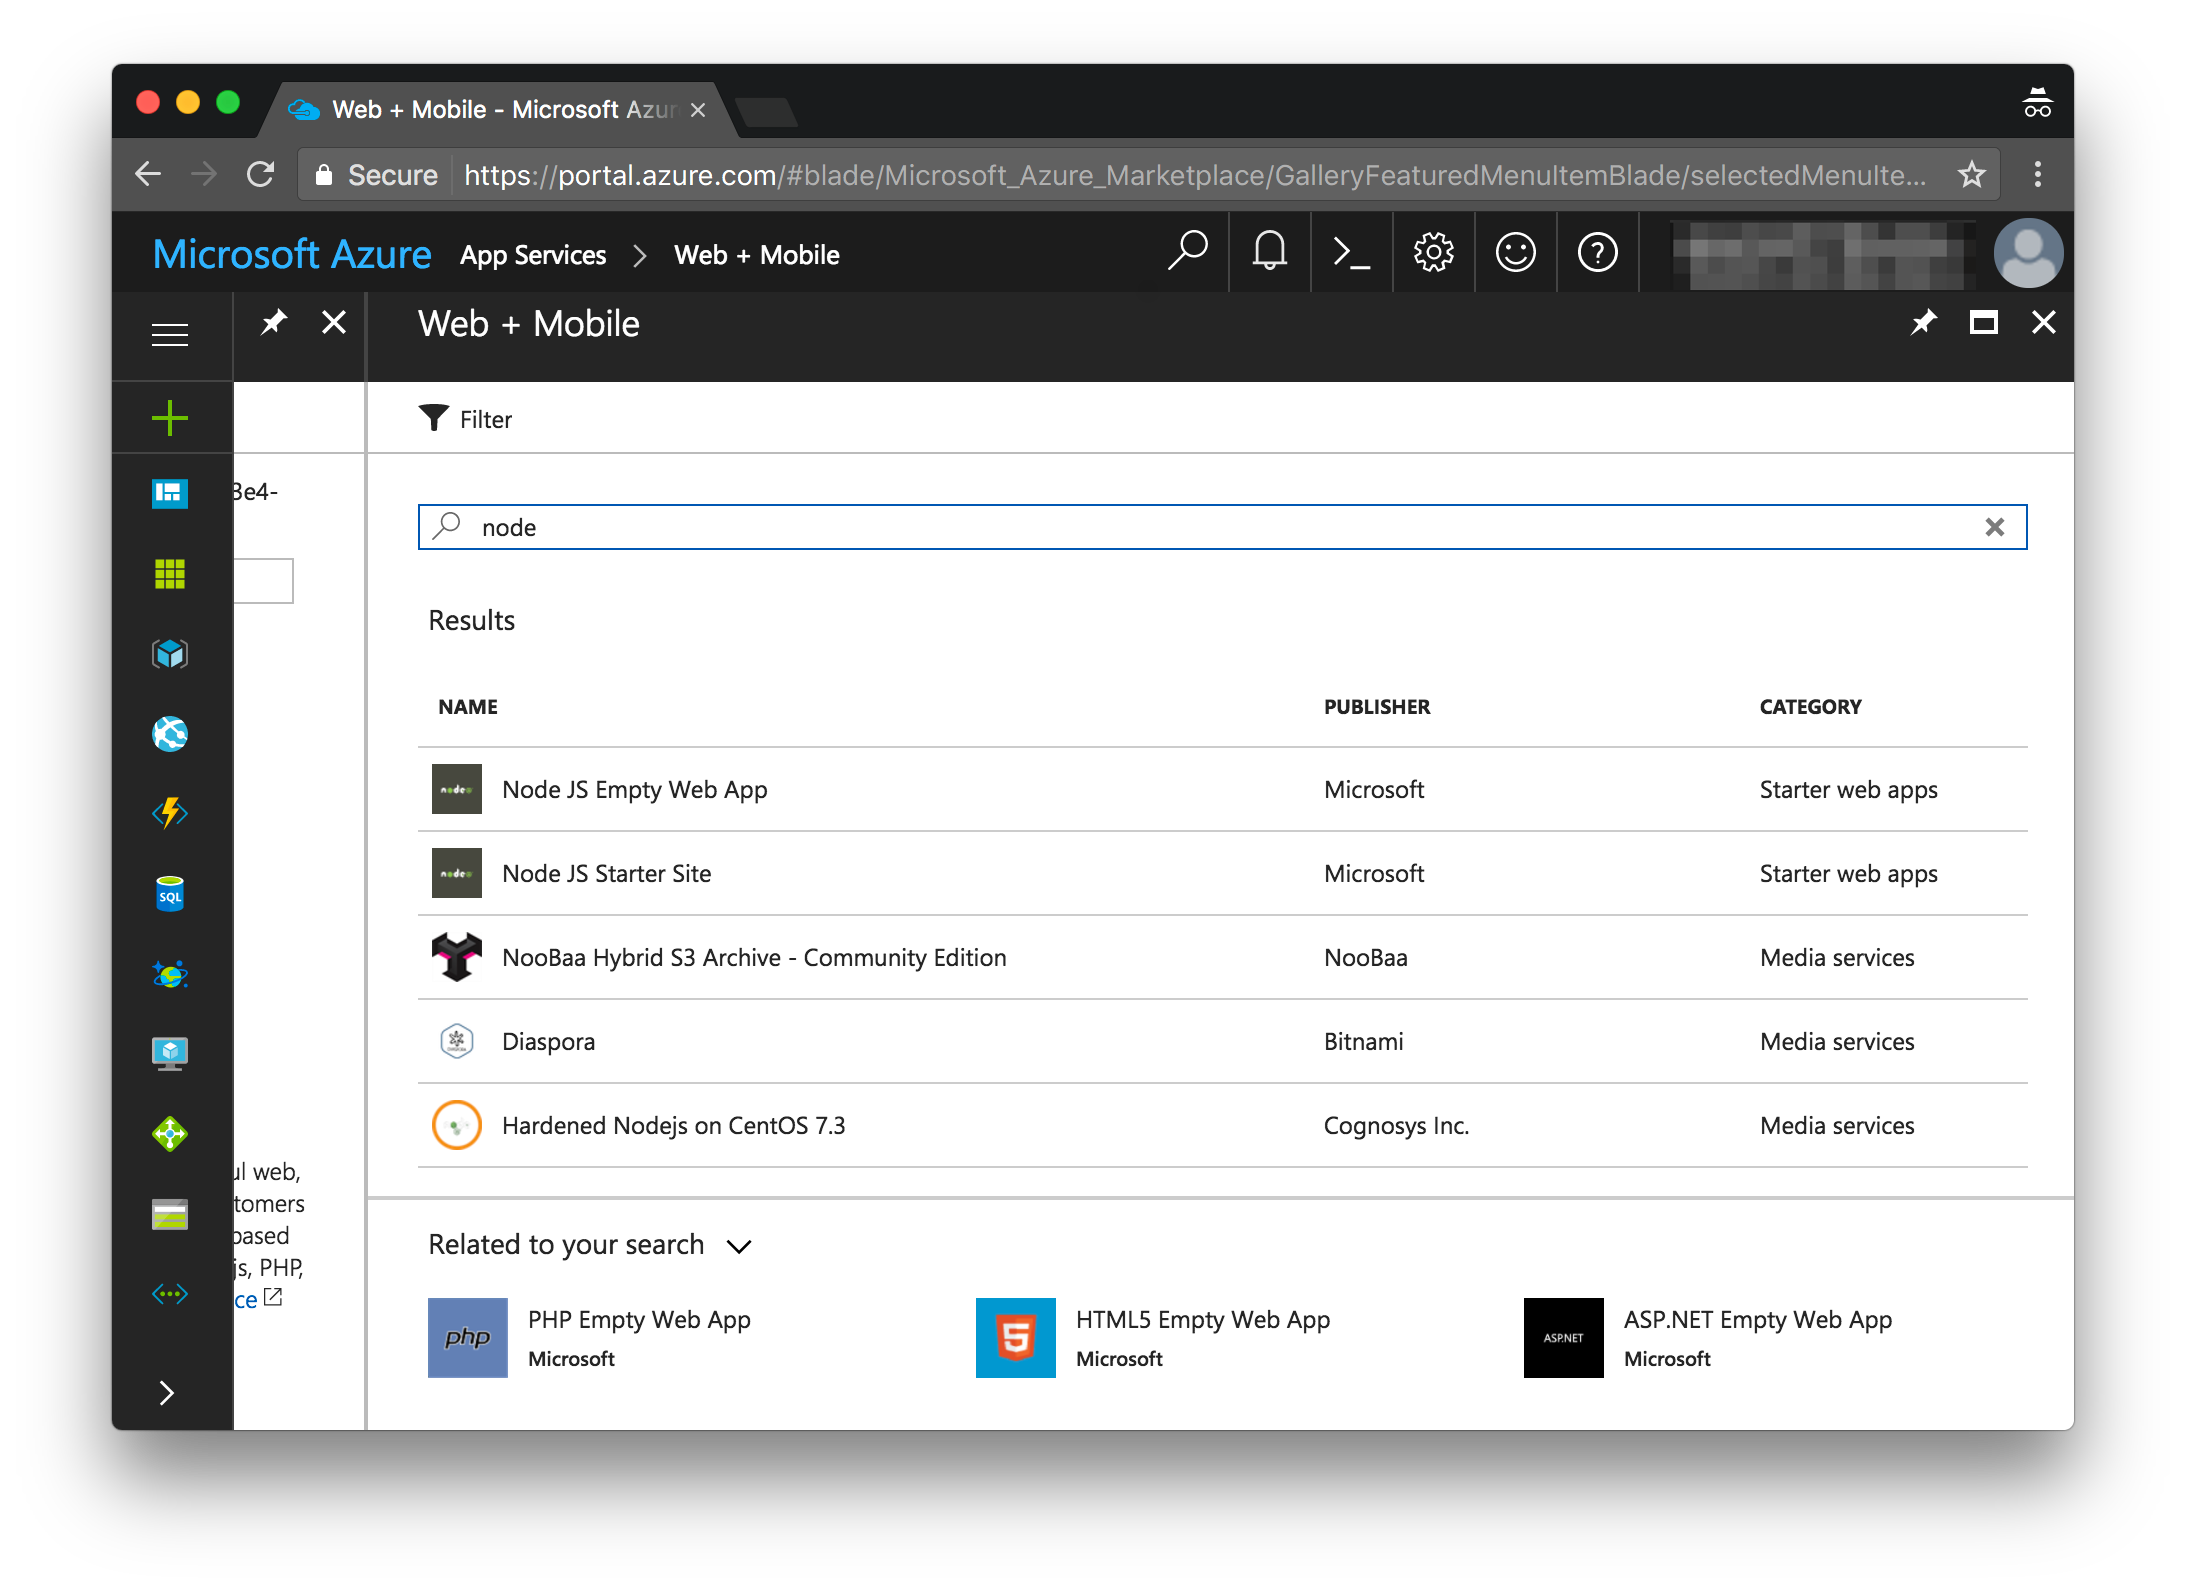
Note
These templates are a super convenient way to create App Services configured how you want, you can always adjust and tweak the settings afterwards but they really kickstart the setup for you.
A good one I think is the node starter template.
Click Create
Give your app a name

This will not only be the name of your application but will also form it’s url ending with azurewebsites.net
Note
The rest of the form will autofill for you:-
-
The subscription is just the plan you are on, so if you were working on multiple client projects each one might have it’s own subscription and billing plan.
-
The resource group is just a collection of related resources, so if later on you wanted to create a database to work with this app you would add it to this resource group.
Important
Click create and wait for it to deploy.
It might take a few minutes but once it’s ready you will receive a notification like so:
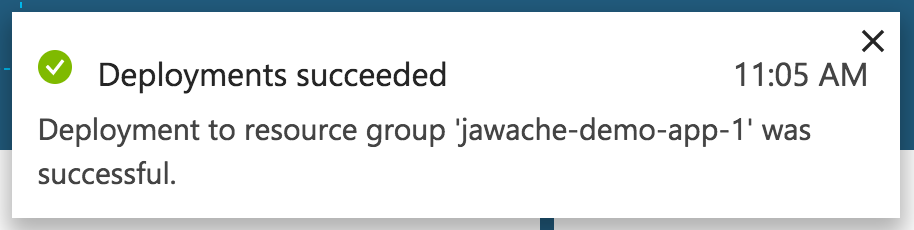
Congrats your application is now live!
If you can’t remember, check the overview section of your App Service to see the URL it’s being hosted on.

That’s it, pretty easy huh? In my next post I’ll be showing you how to connect your App Service to git and deploy your code just by doing a git commit and then a push.